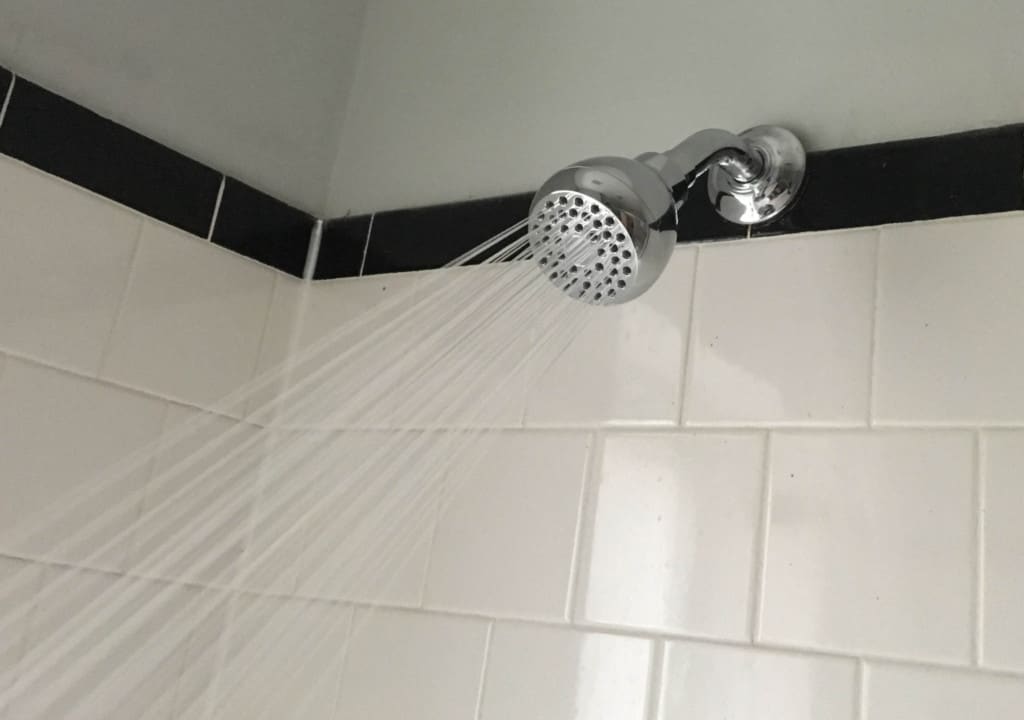
Changing the shower head in your home can have a huge impact on water pressure, water efficiency, and how much you enjoy showering. If you’re a renter, this raises several questions, including can you replace a showerhead in your apartment.
Yes, you can change a shower head in your apartment as long as your lease agreement doesn’t specifically state you can’t replace the shower fixture.
We’ll cover how to read your lease agreement to find out if you can replace your showerhead and how to easily replace your showerhead. Read on to get all the info you need!
Disclaimer: This post contains affiliate links. This means I may earn a commission should you choose to make a purchase using my link
Table of Contents
If you’re looking to change the shower head in your apartment, or if you’ve wondered about any of the questions above, then this is the guide for you.
I’ve lived in 5 different apartments over the past few years, and in this guide, I’ve compiled everything I’ve learned about replacing shower heads as a tenant. Let’s get to it!
Can You Change the Shower Head in an Apartment?
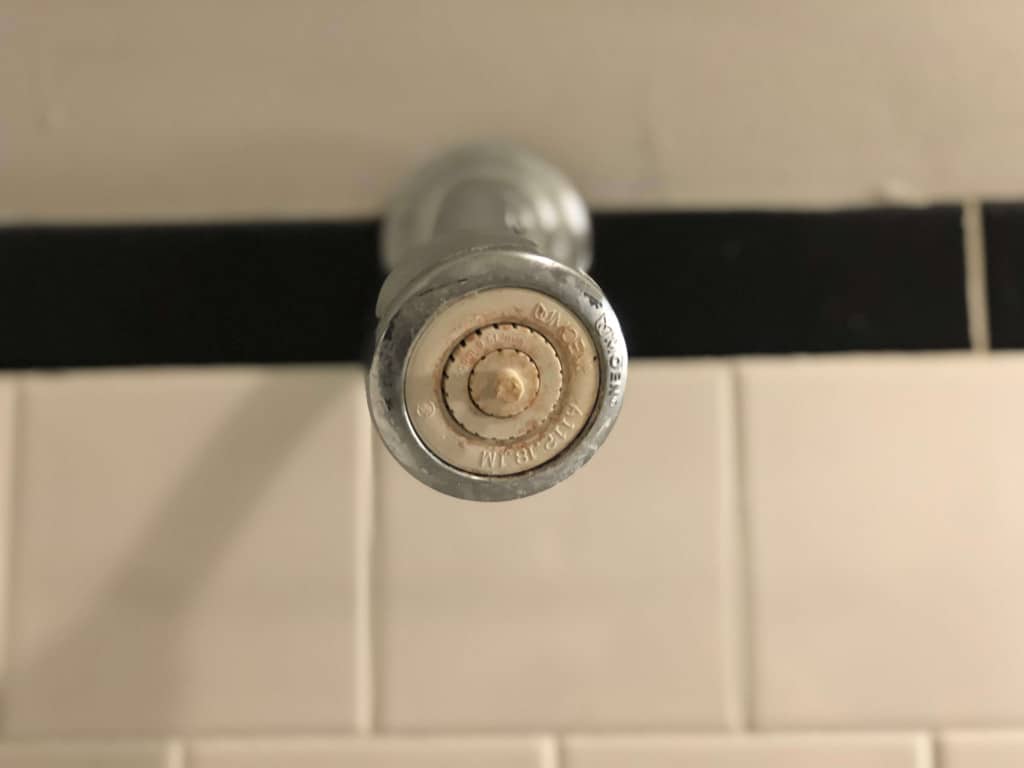
Alright, if you live in a rental and you want to replace your shower head, the first thing you need to know is if you’re allowed to change the shower head in your apartment.
You can generally change the shower head in an apartment, but you should be sure to keep the original shower head and reinstall it before moving out. Before changing the shower head, you should also check your lease to make sure there are not any clauses that prohibit this type of change.
That’s the general rule of thumb, but of course, there are always variations. To make things clearer, I’m going to show you a trick I learned for checking your lease for shower head requirements. Let’s dive into that next.
How Do You Check Your Lease for Shower Head Rules?

Let me preface this section by saying I am not a lawyer, and you should not consider any of this information legal advice. In addition, the language in a lease can be difficult to understand and is sometimes subject to interpretation.
With that said, there are a few steps that I take to see if my landlord has any specific regulations that prohibit the replacement of shower heads. Here’s what I do:
- Open a digital copy of my lease agreement (if you have a digital version)
- Use the CTRL + F keyboard shortcut to open a search bar in the doc
- Search for “shower” to see if anything comes up (there isn’t any appearance of the word “shower” in my lease)
- Search for “plumbing” to see if anything comes up (there likely will be a few clauses that say something about plumbing facilities/fixtures)
- Review any clauses that you’ve found, and evaluate their meaning
As I write this article, I’m looking at my actual lease as I follow these steps. There are three clauses in the lease that contain the word “plumbing”. After reading them all, I would personally feel comfortable replacing the shower head under my lease.
The clauses that mention plumbing appear to be more focused on using and maintaining fixtures appropriately, and it seems like there’s some wiggle room, as long as I replace the original shower head before moving out.
Use your best judgement, and you can always ask for your landlord’s permission to be sure.
At this point, it’s worth mentioning that one of the reasons I feel comfortable replacing the shower head, is that I’ve replaced an apartment shower head before and I’m confident I can do it without causing any damage (and my landlord will probably never even notice).
If you’re in the clear to replace your shower head, but want to know the right way to do it for an apartment, we’ll cover those steps next.
How To Change the Shower Head in a Rental Apartment
1. Get a New Shower Head
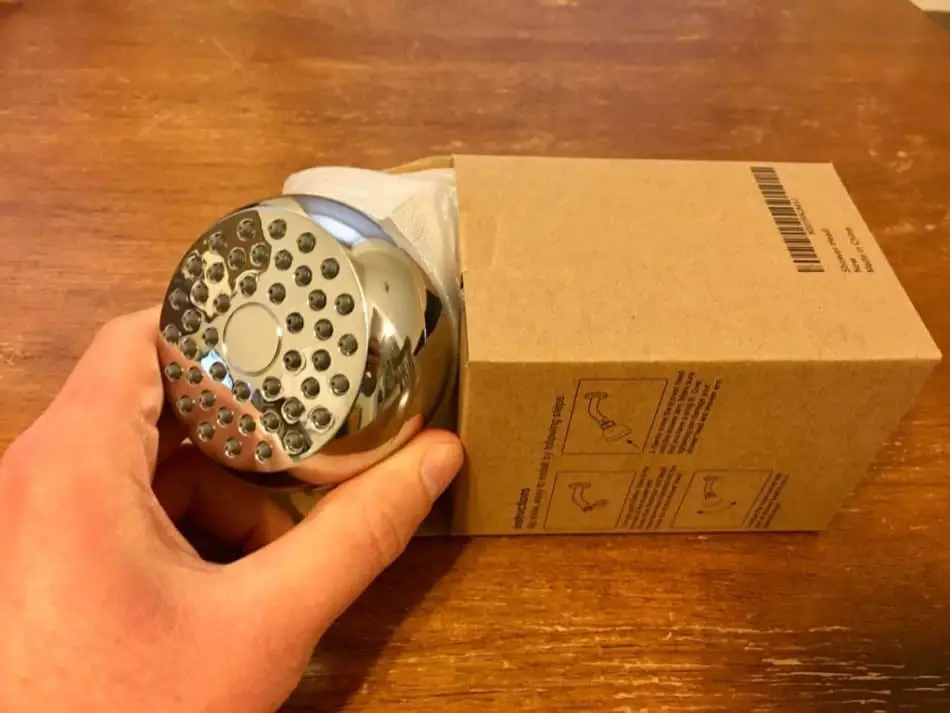
The first thing you need to do is to get a new shower head to replace the original one. Check out our other post about the different types of shower heads to help you decide.
You might be wondering if all shower heads are the same size. Generally, the fittings used to install shower heads are universal, but you can learn more about that in this article.
Once you have your shower head replacement, it’s time to do the things.
2. Gather Necessary Tools
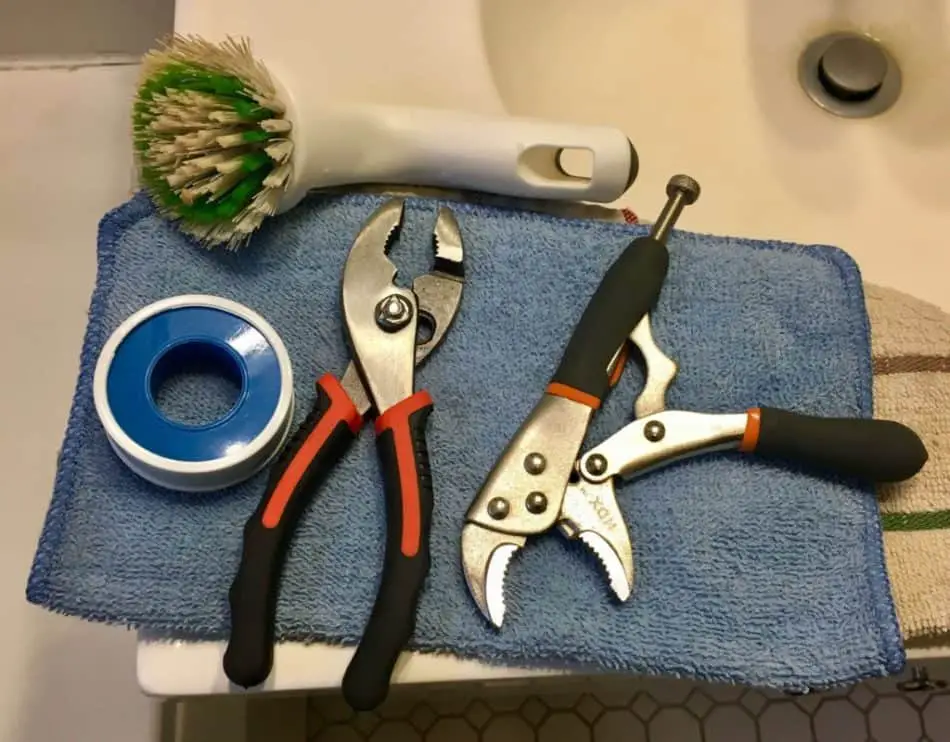
While you’re picking up a shower head, you may also need to get a couple tools (if you don’t have them already). Here’s what you need:
- Channel-lock pliers
- Another pair of pliers (or an adjustable wrench)
- Teflon tape (plumber’s tape)
- Brush of some kind (an old toothbrush is fine)
- 2 small rags or cloths
All of these things can easily be found at your local hardware store. Once you have all your tools together, you can start the process of removing the original shower head (without damaging it).
3. Secure the Shower Arm
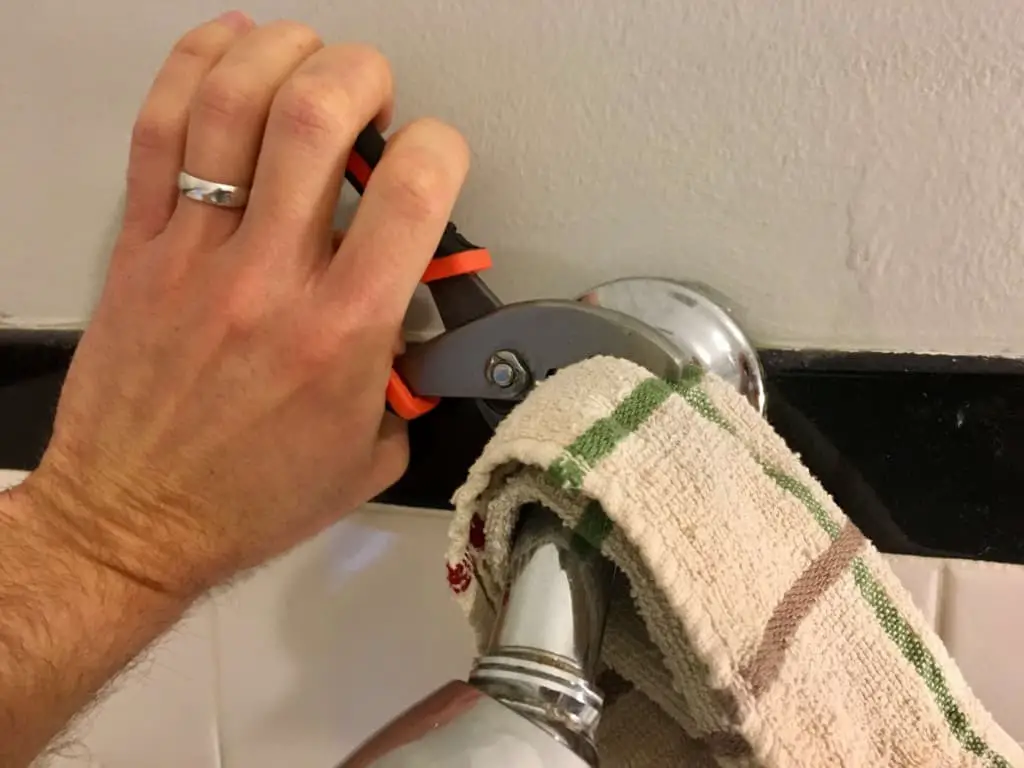
The shower arm is the pipe that comes out of the wall. To secure it, place a rag around the pipe, and clamp your channel-lock pliers over the rag, to hold the shower arm in place.
Rotating the shower arm could cause leaks, or make your shower head crooked. That’s why you want to hold it firmly in place when you start unscrewing the original shower head.
Also, a lot of places will tell you that you need to turn off the water to change the shower head. However, if your faucet is turned all the way off, then there will be no water flow going through the shower pipe.
So, no need to find the water shut-off valve for this project.
4. Unscrew the Old Shower Head
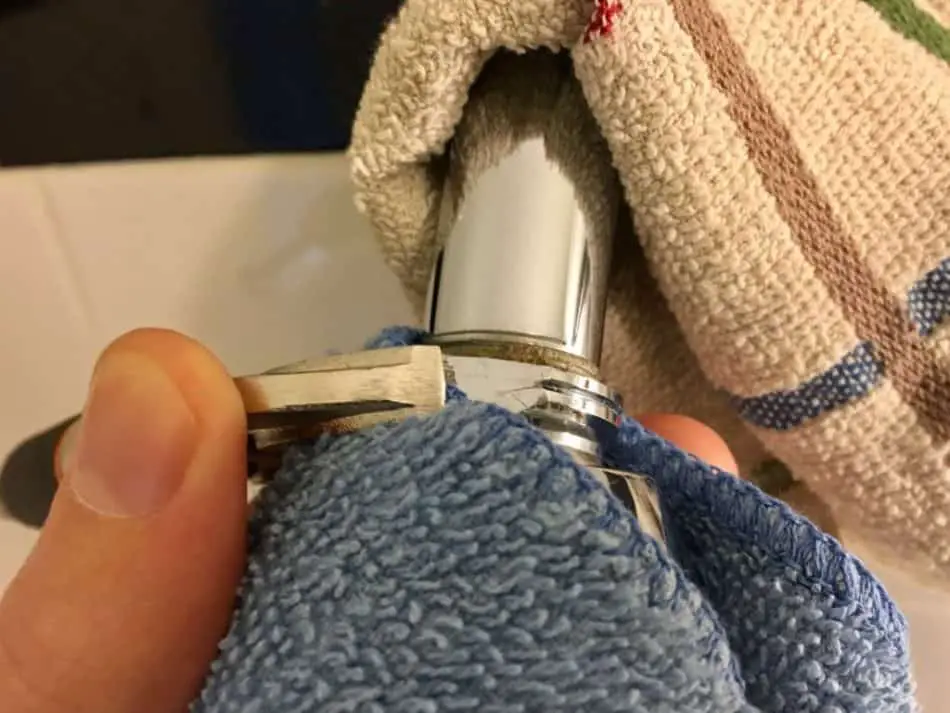
While securing the shower arm with one hand, place the second rag over the base of the current showerhead. Then put your pliers/wrench around it. Once you have a tight grasp, begin rotating the base of the shower head counter-clockwise.
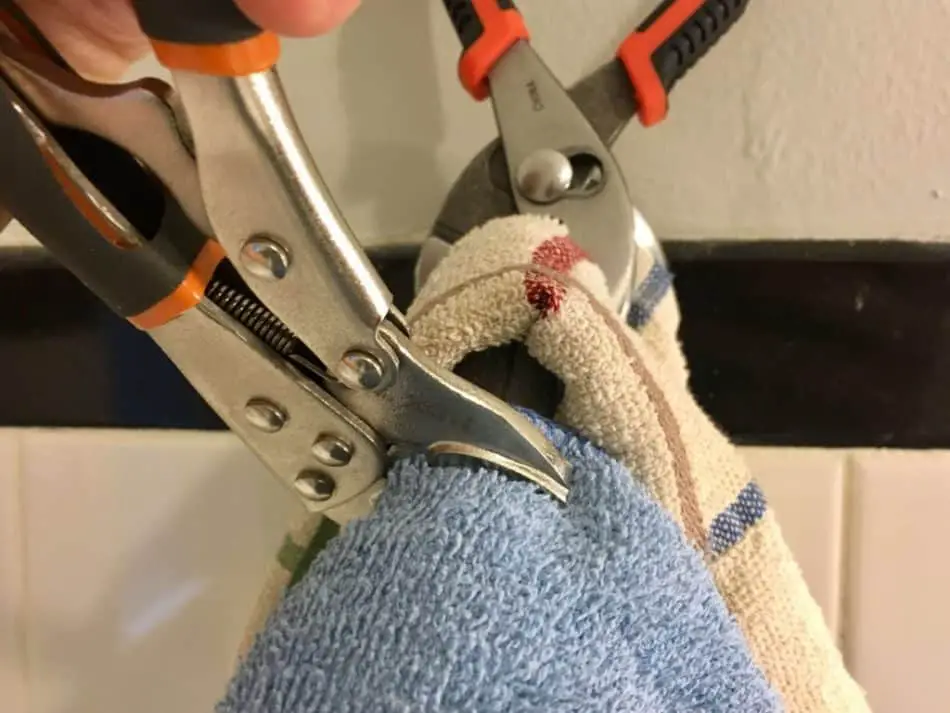
Be really careful with your pliers as you do this, to avoid making any scratches or dents on your landlord’s shower head. The rag will help with this, and also be careful that you don’t press or pull too hard. Take it easy.
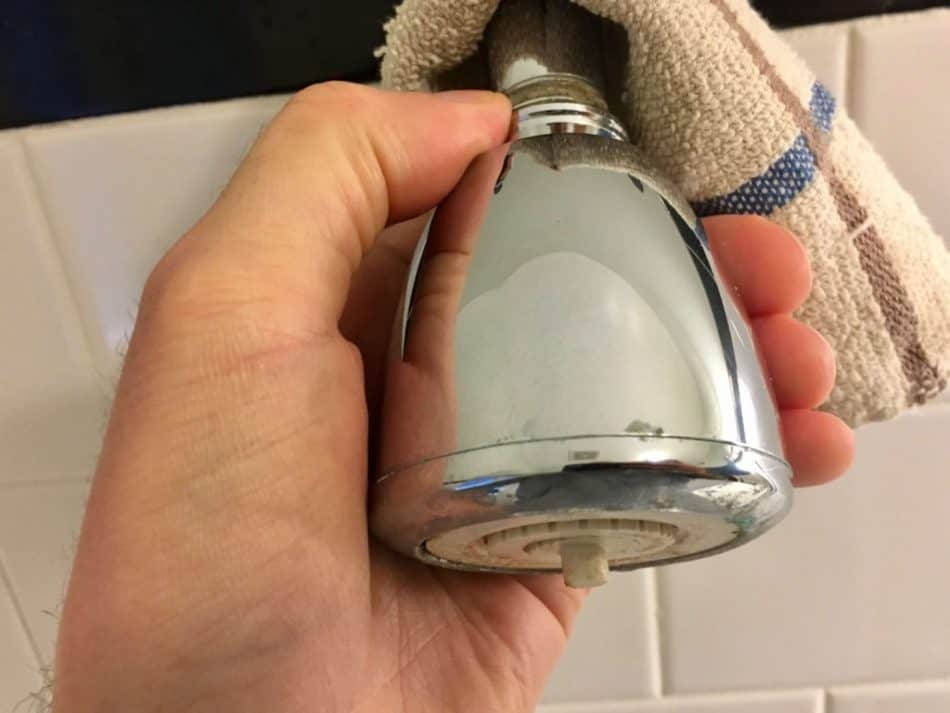
Once you make the first turn or two, the shower head will usually be loose enough that you can put the pliers down, and unscrew it by hand the rest of the way.
5. Save the Old Shower Head for Move-Out
Once you have the old showerhead off, store it somewhere safe. In the past, I’ve just stored them under the sink in the bathroom.
Before you store it though, this would also be a good opportunity to clean the shower head if you want to be an extra good tenant.
6. Remove Dirt and Tape from Shower Arm
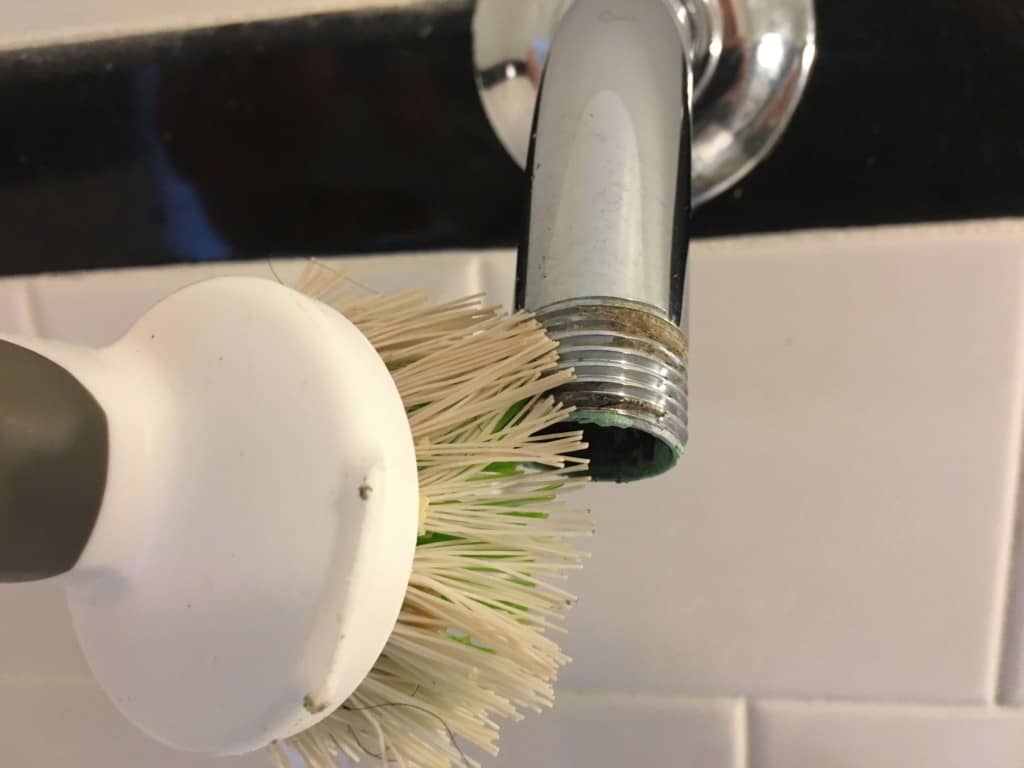
The threads of the shower arm will likely be dirty, and it may or may not have old teflon tape on it. If there is teflon tape, your first step is to peel that off.
Once you have any tape removed, it’s time to break out the brush, and do some scrubbing. Dirt and build-up can prevent a tight seal, so you want to get the threads of the shower arm nice and clean to avoid leaks and to keep the water pressure high.
It might also help to use some water to loosen up the dirt, and to wash away stuff that you’ve already scrubbed free. I put some water on my brush when cleaning the threads, and it helped quite a bit.
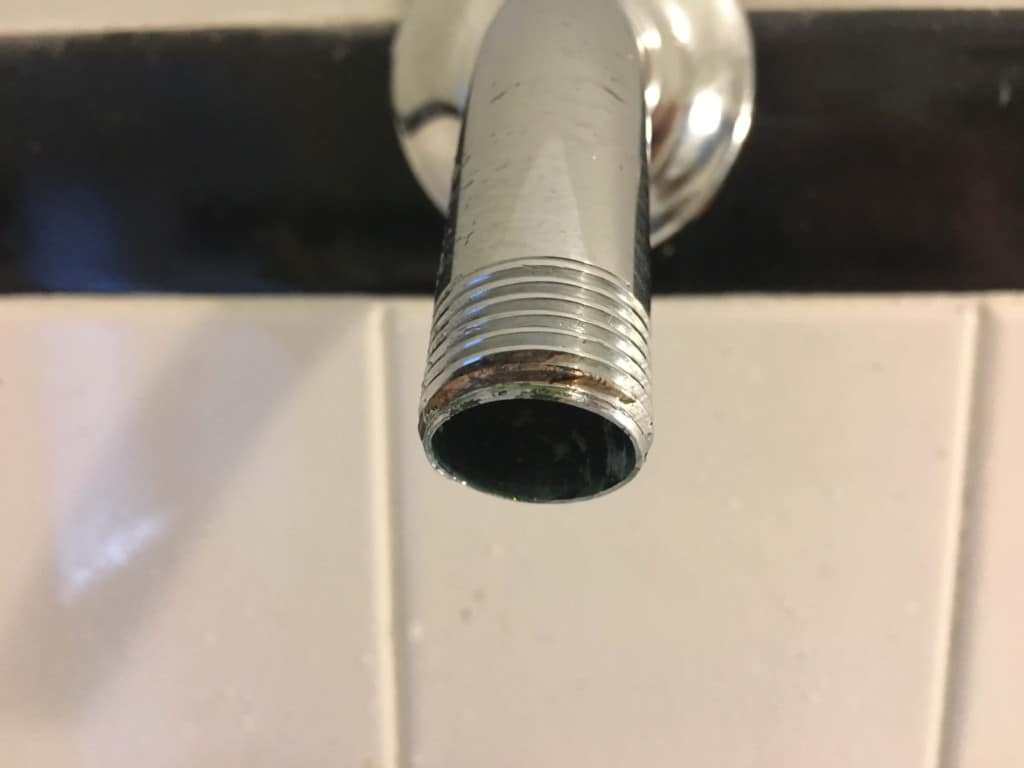
Here’s what it looked like when I finished cleaning. Not perfect, but I’ve removed the grime and dirt from the pipe threads.
7. Add New Teflon Tape
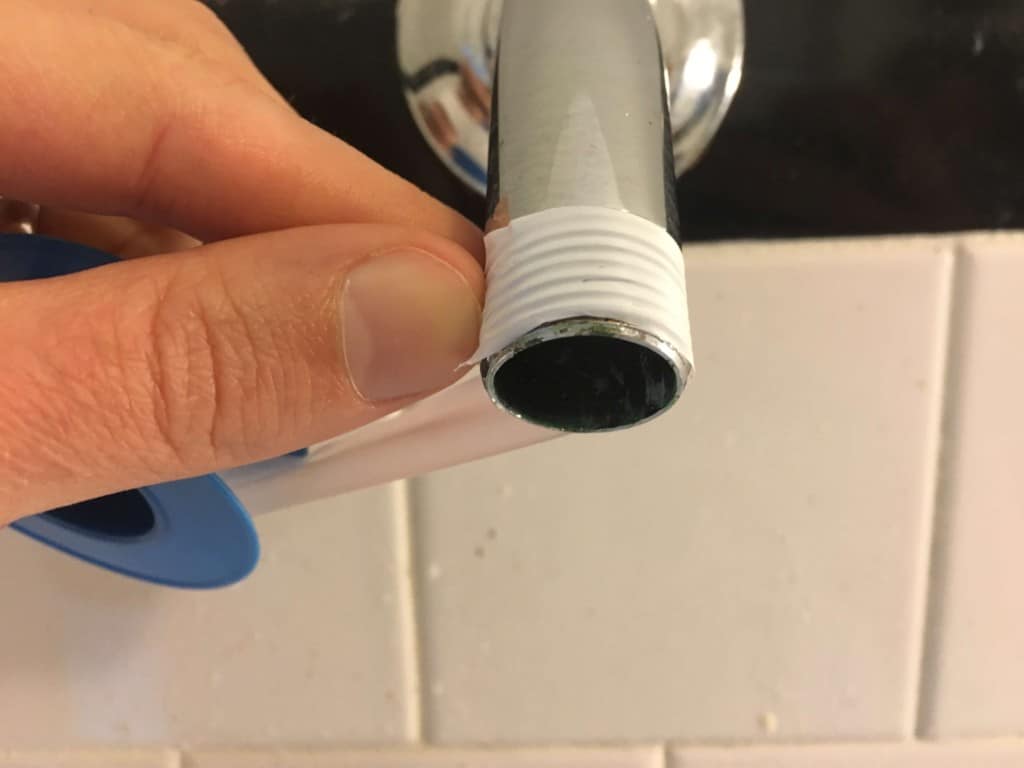
Once the threads of the shower arm are clean, then you may need to add some teflon tape AKA thread seal tape. Not all shower heads require teflon tape, and some might even work better without it. So, you’ll want to check if there are any specific instructions about tape for your shower head.
If there are no instructions about tape (or if the shower head didn’t come with instructions), then I’d probably go ahead and use some.
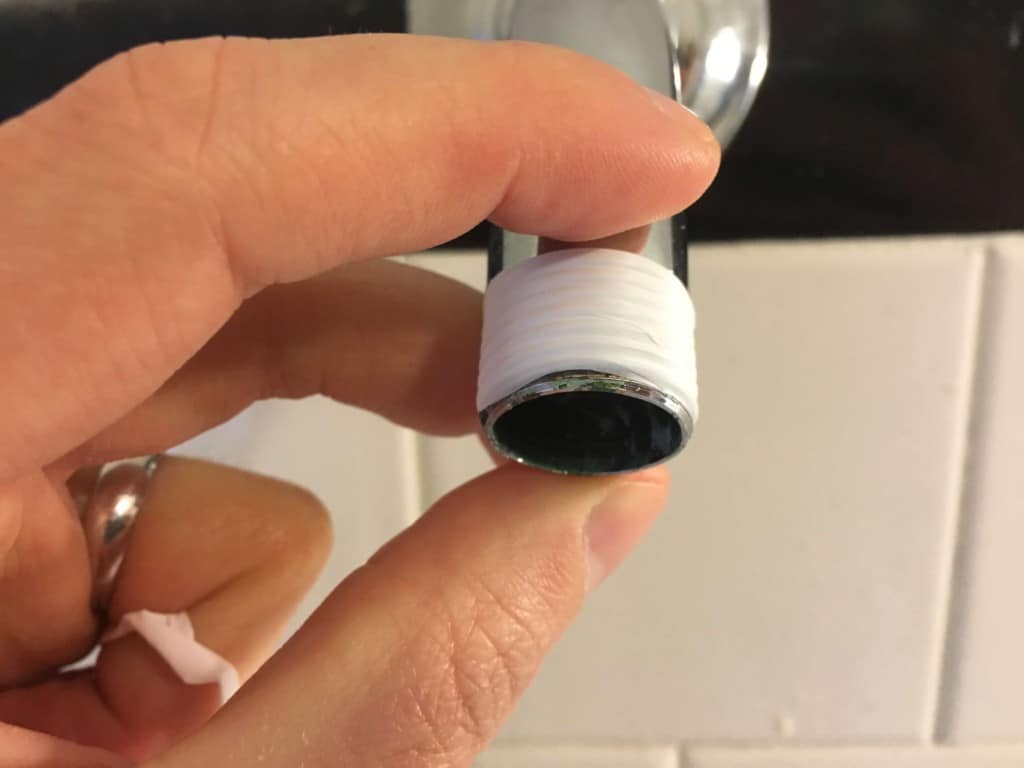
To apply teflon tape to the shower arm threads, wrap 2-3 layers of tape around the pipe so that it covers the threads. Get the bottom end of the tape as close to the end of the pipe as you can, if you place the tape too high on the pipe, it will still be visible after you install the new shower head.
8. Screw the New Shower Head Into Position
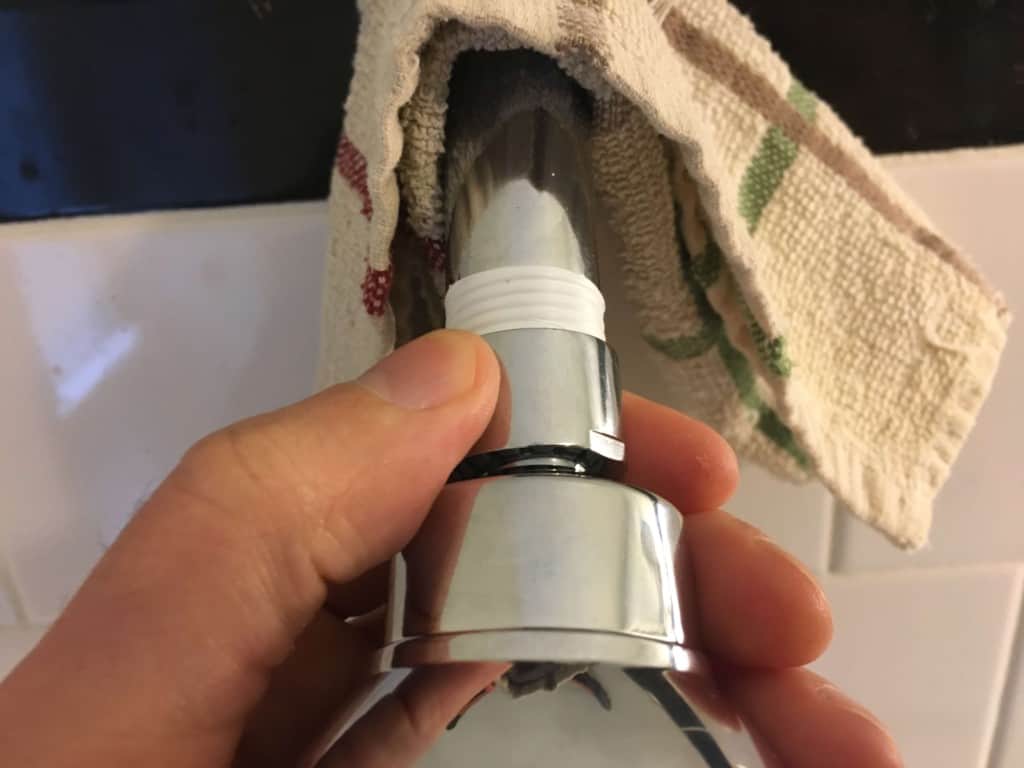
Before you install your new showerhead, this would be the perfect opportunity if you were thinking about installing shower filters on your shower heads.
To install your new showerhead, line up the base of the shower head with the end of the shower arm. Then start rotating the base of the shower head in a clockwise direction to attach it.
Keep spinning the base of the shower head with your hands until it’s finger-tight. Then you can give it another half turn or so with your pliers. Be really careful though, you don’t want to over tighten.
You should also put a cloth between your pliers and the new shower head (just like you did when removing the old one) because they will sometimes scratch easily.
9. Test the Water

Once You have the new shower head installed, it’s time to give it a test. Get out of the shower and turn the water on. See if there are any leaks or problems.
If there is a leak at the base, then there’s a problem with the seal. To fix that you can try to tighten it further, or re-do the teflon tape.
If you used an old shower head (rather than purchasing a new one), there are other reasons water might not come out properly. You can read this article for more info on that.
But, if everything appears to be working well, then you’re all set to use your shower with the new shower head. There’s just one more thing you’ll need to keep in mind…
10. Before Move-Out: Reinstall Old Shower Head
You’ve changed the shower head successfully, and you’ve given your shower experience a significant upgrade. BUT, there’s one more thing you have to do before you move out.
The original shower head is your landlord’s property. So you should save it somewhere in the apartment, and re-install it before you move-out.
This is actually great for you, because you get to take your (probably much nicer) shower head with you to all your next new apartment or future rental properties. And now you know how to install it yourself!
How Often You Should Change Your Shower Head
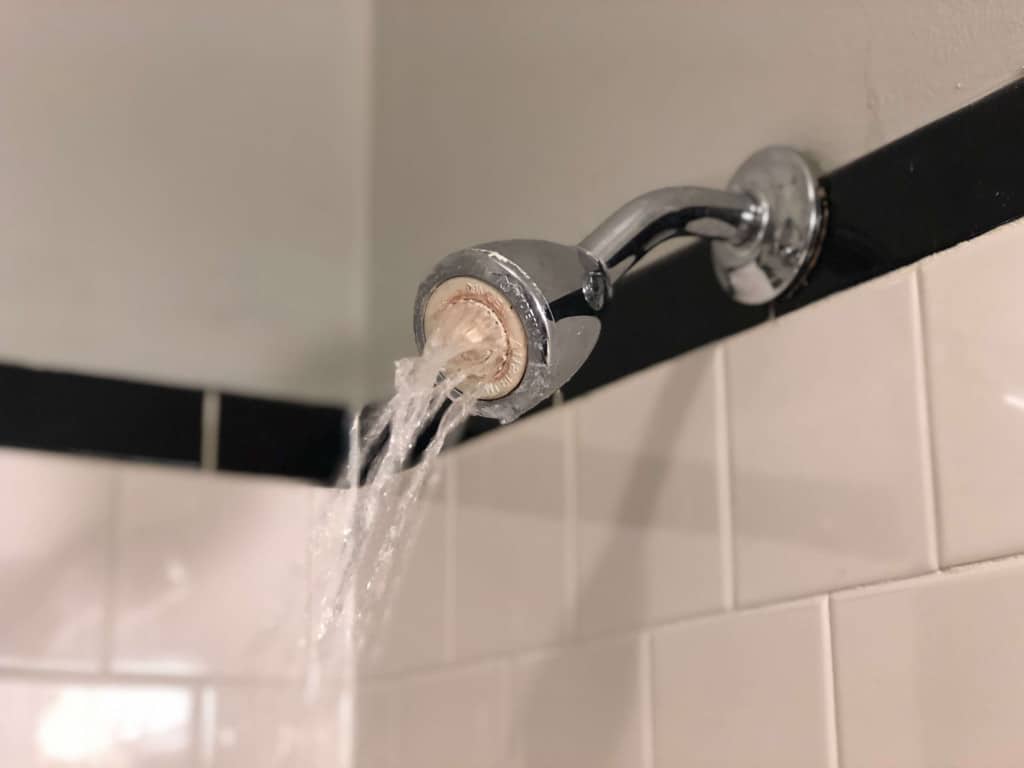
A shower head should generally be replaced every 6 to 8 months. And people living in regions with hard water may need to replace their shower heads even more often, due to frequent buildup of mineral deposits.
I know, I know, this will probably sound crazy. And honestly, some people will NEVER replace a shower head in their lives.
But, to help you get a clearer picture of whether you actually need to replace your shower head, here are 5 things to consider:
5 Signs Your Shower Head Needs Replaced
1. Low Shower Pressure
If you have low water pressure coming through your shower head, this could be caused by clogged nozzles or other issues with the shower head.
2. Dripping or Leaking
If you have a shower head that leaks or drips (when the water is off) then you could have a variety of problems. For example:
- The shower head could be loose
- You might need new teflon tape to seal the connection
- There might be a problem with the washer inside the shower head
If you fix these problems, and the shower head is still dripping/leaking, then there’s probably something messed up inside the shower head itself.
3. Mold
Shower heads might get moldy. Super gross, but it’s true. If you notice black or green gunk accumulating on your shower head, then you might have a mold problem.
If your shower head does get moldy, then it’s probably a good idea to just go ahead and replace it.
You may also want to know that plastic shower heads tend to get moldy more easily than metal shower heads. So you may want to consider that when you go to buy your next shower head.
4. Personal Needs (or Preferences)
If your apartment has a standard shower head, but you need (or just want) a handheld shower head with a hose attachment, then that’s a great reason for a change.
Other examples of shower head needs/preferences would include low flow (e.g. water saving) shower heads, or high-pressure shower heads.
5. Outdated Design
Last but not least, you may rent an apartment with a shower head that looks like it’s from the 60’s.
If the shower head clashes with the design of the rest of the bathroom, or if you just don’t like the way that it looks, this is another reason to consider changing out the shower head.
Related Questions
Are Landlords Responsible for Lightbulbs?
Renters (tenants) are typically responsible for replacing lightbulbs within their rental homes. This includes the purchase of new bulbs. However, this can vary and you should check your lease for the specific expectations. For example, some landlords prefer to do the replacement themselves.
Are Landlords Responsible for Air Filters?
Renters are usually expected to replace air filters themselves. This includes the purchase of the filters, although many landlords will provide a couple of extra filters as a courtesy. There are some variations, however, and you should check your lease for the specific expectations.
