
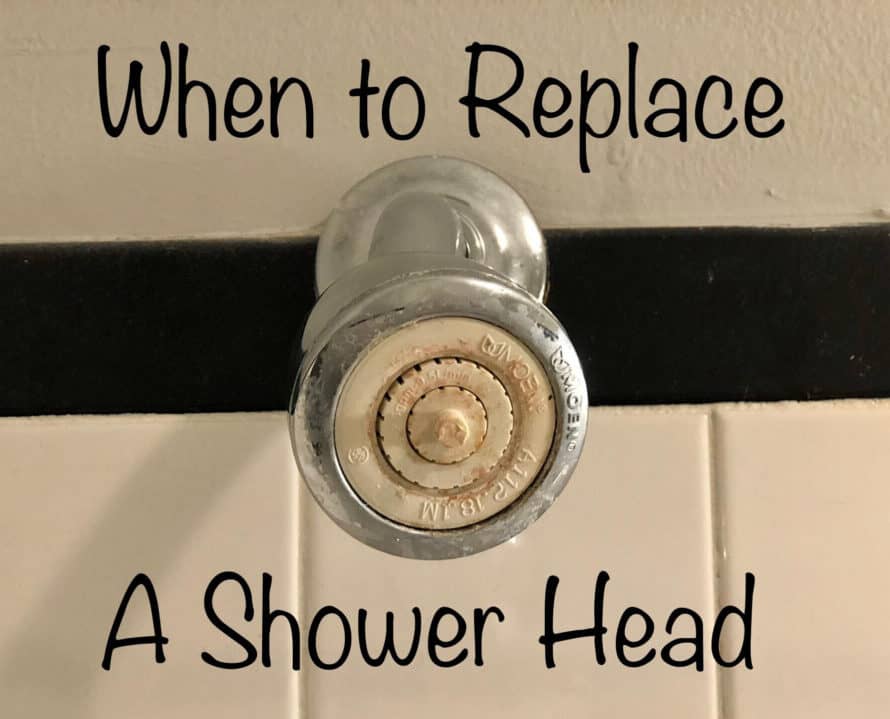
If you’re having problems with your current showerhead, or if you recently experienced low shower pressure, then you might be wondering when you should replace your shower head.
A shower head should generally be replaced every 6 to 8 months. And people living in regions with hard water may need to replace their shower heads even more often, due to frequent buildup of mineral deposits.
If you think it might be time for a new showerhead, you can use the details below to help you decide whether you should clean it, replace it, and how to change it when the time comes. Let’s get started!
Table of Contents
When To Replace Your Shower Head
As we mentioned above, your shower head should be replaced every 6 to 8 months. But, that range is also dependent on the area you live, because hard water can cause faster wear and tear to a shower head.
As a result, there’s not a consistent expiration date on shower heads, which can clearly show when they need to be replaced.
In addition, if you live in an apartment, then you may also need to consider whether you’re allowed to replace your shower head.
Assuming you’re allowed to replace your shower head, then the good news is that there are a few clear signs that you can use to tell when a shower head needs to be replaced. Let’s dig into those signs next.
3 Signs That You Need A New Shower Head
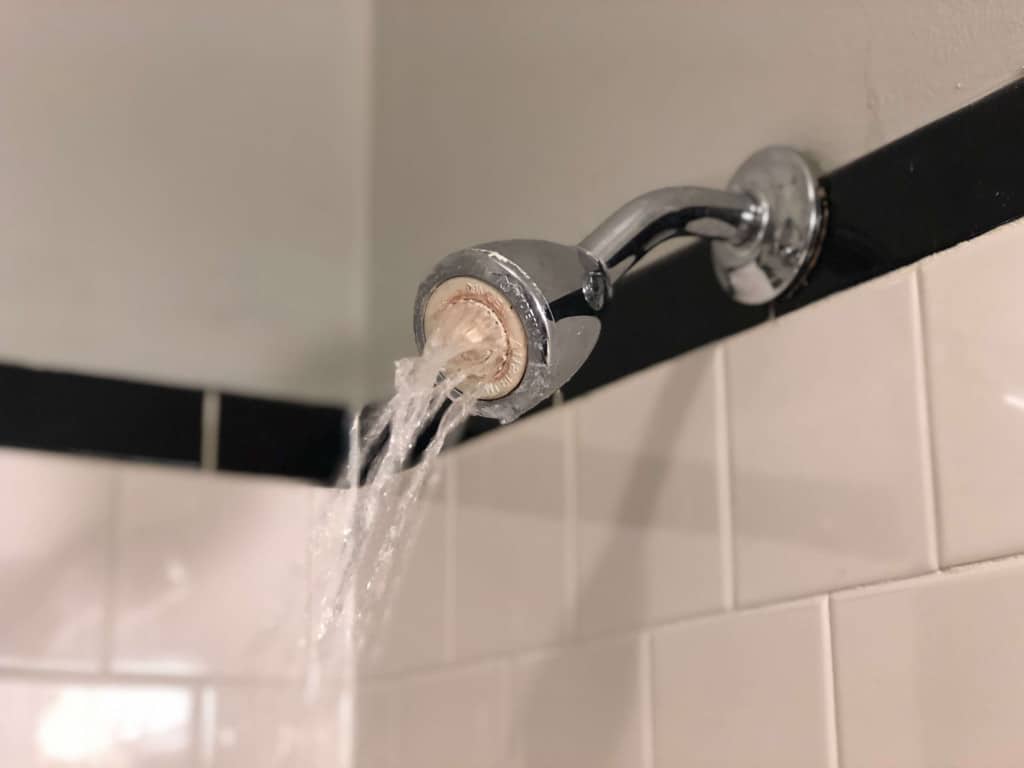
1. Low shower pressure
This is one of the most common and obvious reasons to replace a showerhead. If you hop into the shower to find drastically lower shower pressure, or worse, nothing but a tiny trickle of water, it may be time to replace your shower head.
2. Drips and Leaks
If you find that there’s water dripping or leaking from your shower head, then it may need to be replaced. But, it could also just be loose. I’d suggest that you first check your shower head, and see if it’s tightly sealed to the shower arm.
While doing so, check to see if Teflon tape is properly wrapped around your shower arm. If it’s not, then adding some more plumber tape could fix the problem.
While you’re checking the seal, you can also check to see if the rubber washer that sits inside your shower head is worn out. If so, it could be that you simply need to get a new washer.
If everything seems okay, and you’re still experiencing dripping or leaking, then it’s probably time for a new showerhead.
3. Mold
With a combination of dust from skin cells, moisture, and heat, the bathroom provides ideal conditions for mold to grow. Ewww. I’ve seen it in and around the crevices of my bathtub, and it can be a hassle to clean!
If you look up to see black spots on your shower head, it may be time to get a new one. I’d probably use a pair of gloves to even touch it.
When buying a new shower head, you might want to consider the fact that plastic shower heads tend to attract mold more than shower heads made of metal.
It’s more of a preference than a necessity, but you might also want to change your shower head if it’s outdated. Maybe you’re looking for little ways to spruce up your bathroom with minimal effort.
There are SO MANY newly designed showerheads available, and you might be surprised at the difference it makes, especially if the look of your current showerhead clashes with the rest of your bathroom.
While you might need to replace your showerhead, sometimes all it takes to get back to a great shower is a little bit of cleaning. How do you know when to replace a showerhead and when to clean it? Let’s cover that next.
Cleaning vs Replacing Your Shower Head
If you just moved into a new home, you’ll want to turn on all the showers, and check to see if there are any signs listed in the section above. If there are, you might want to get new shower heads for your home.
Unless it’s a brand new home, chances are slim that someone took the time to leave you with fancy shower heads.
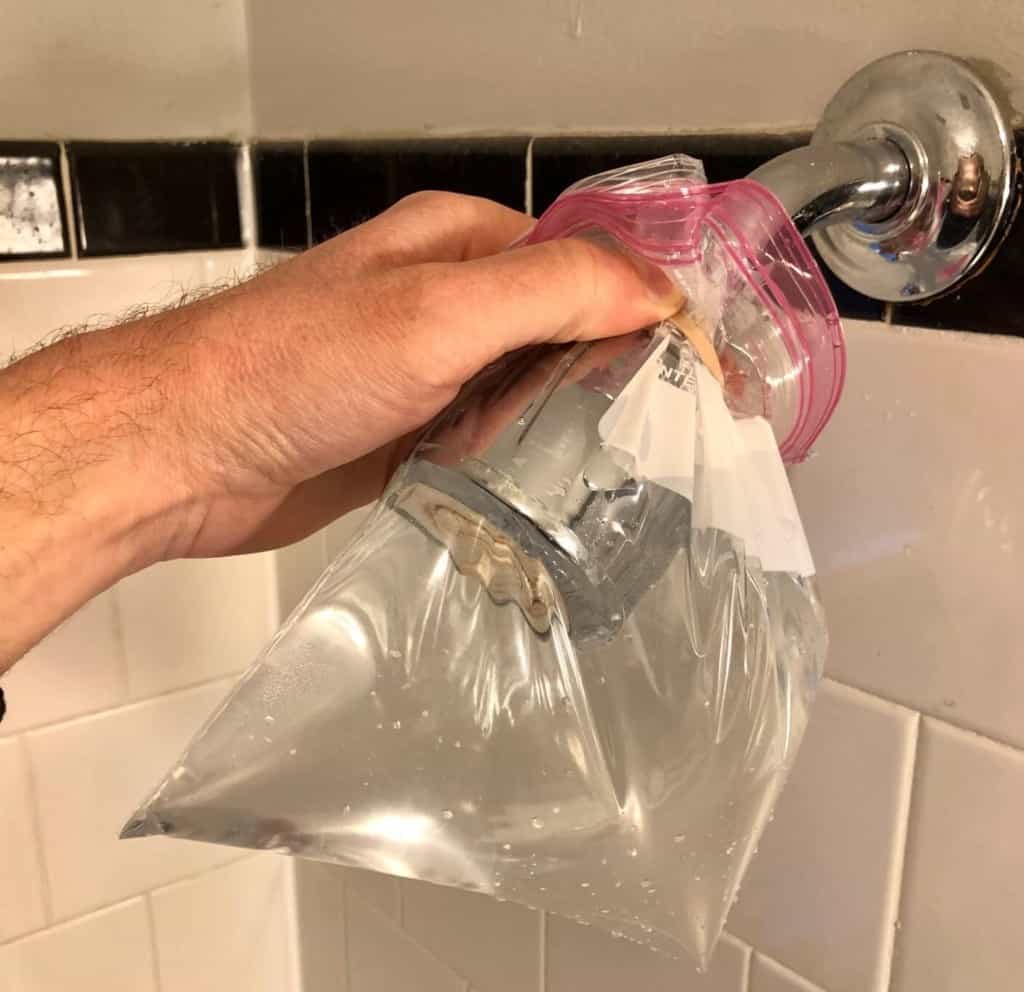
Shower heads should be replaced every 6 to 8 months, but you should clean it more regularly. Some say you should clean your shower head weekly, but if you’re like most people, that’s probably not on your weekly cleaning schedule (if you have one at all).
I’d say if you remember, try to do it at least once a month. If you use Google Calendar like we do, maybe try setting a recurring task.
If you bought and replaced a new shower head within the last 6 to 8 months and recently experienced low shower pressure, you might want to clean it first before looking into getting a new one.
If you’re wondering what goes into cleaning your shower head, you’ll find some instructions on how to clean your shower head here.
Now that we’ve covered that, let’s take a look at how to actually replace your shower head.
How To Replace Your Shower Head
Once you have a new shower head (psst…check this out if you need tips to ensure your new shower head will fit), there are a few simple steps to replacing it.
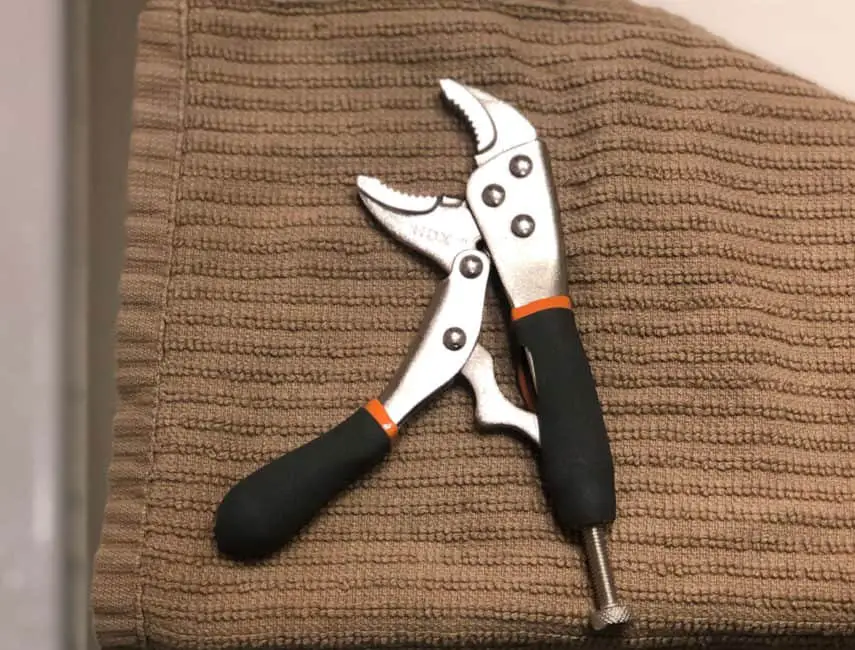
1. Gather your materials
You’ll need the following:
- A new showerhead
- An adjustable wrench or pliers
- A small rag
- Teflon tape (if not included with your new showerhead)
2. Place your rag and wrench around your shower head
Make sure your faucet is completely off. To keep from damaging your old shower head, wrap a rag around the nozzle of your shower head, where it connects with the shower arm. Wrap your adjustable wrench (or pliers) snugly around the rag and nozzle.
3. Turn counter-clockwise to unscrew
Now you’ll want to turn your wrench counterclockwise to loosen your shower head. Once loosened, you can remove your wrench from the nozzle, and use your hands to unscrew and remove the shower head.
If it’s not on tightly, you may be able to skip the wrench altogether and unscrew it using your hands.
4. Clean your shower arm.
Remove any old tape around the threads of your shower arm. Use your rag to wipe away any buildup in that area. If you have an old toothbrush, you can also use that to clean around the threads of the shower arm.
5. Apply Teflon tape.
Conveniently, the Teflon tape should be about the same width as your shower arm threads.
In a clockwise direction, wrap your Teflon tape evenly around the threads of your shower arm about three times, and tear off the tape. The direction that you apply the tape is important as it will ensure the tape won’t bunch up as you screw the new shower head in.
Use your hands to flatten the tape around the threads. This tape is used to help seal the threads, so it doesn’t leak.
6. Screw on your new showerhead
Now you can line the nozzle of your new shower head with your shower arm and connect them by screwing it in a clockwise direction until it’s tight.
If you want to tighten further, you can use your rag and wrench to turn it clockwise about a quarter of a turn. Don’t overdo it as we don’t want anything to break!
Related Questions
Do I have to turn off the water to replace the shower head?
Before replacing a shower head, you should turn off the faucet in the shower. However, you usually do not need to turn off the water to the building, because the shower faucet is enough to stop the water from reaching the shower head.
How do I increase shower pressure?
To increase shower pressure try cleaning the shower head, replacing the shower head (potentially with a smaller shower head), removing the shower head’s flow restrictor, or call a plumber to check the pipes. There are a number of reasons why someone might be experiencing low shower pressure.