
Lead paint can be scary to deal with. And I should know. I recently bought and renovated a 1959 colonial house with lead paint on nearly all its painted surfaces.
Lead paint removal involves removing the lead paint itself by either removing the object it’s painted on or sanding it off the surface. Lead paint encapsulation involves painting over the lead surface with a special paint that ‘encapsulates’ and clings to the lead paint.
As a parent of a 2-year-old, I dug DEEP into the options and ended up doing a combination of lead paint removal and encapsulation.
In this post, I’ll share what I learned as a DIYer when it comes to lead paint removal vs. encapsulation. Let’s jump in!
Disclaimer: I am a DIYer and I’m not certified in lead paint remediation. Please be careful and take responsibility for your own risks.
Disclaimer: This post contains affiliate links. This means I may earn a commission should you choose to make a purchase using my link
Table of Contents
Lead Paint Removal Defined
First off, let’s clarify what people mean when they talk about these terms.
Lead paint removal is the process of physically removing the lead paint from the home. There are multiple removal methods including sanding lead paint off of surfaces and/or removing painted materials (like baseboards) entirely.
When people talk about “lead paint remediation”, they are either referring to lead paint removal OR to lead paint encapsulation…
Lead Paint Encapsulation Defined
Lead paint encapsulation is the process of covering and sealing lead paint without actually removing it. This is typically done with a special lead encapsulating paint that is designed to stick to and thoroughly cover lead paint.
Encapsulating paint also acts as a primer, so once you’ve encapsulated, you can paint directly over the encapsulant with your chosen new paint color.
That gives you an overview of the two relevant remediation techniques, now let’s compare their real-world pros/cons.
Lead Paint Removal vs. Encapsulation
If you’re anything like me, you may have started your lead paint research assuming that there would be one “right way” to deal with it.
In reality, both removal and encapsulation have specific advantages depending on your project.
We’ll cover these in more detail here:
Lead Paint Removal Pros/Cons
1.No Future Remediation Needed
If you remove the lead paint entirely, it will never need to be remediated again so it could be a better option in the long term.
This is not the case with encapsulation, which could need to be repaired or re-encapsulated if any of the encapsulating paint chips or is damaged in the future.
2. Can Be Easier
In some, particular situations, removal can be easier than encapsulation.
For example, in my house, I chose to remove most of the baseboards and door trim, because I found it to be easier (or at least the same amount of work) to replace these small boards than to encapsulate them.
3. Produces Dangerous Lead Dust
Probably the biggest issue with lead paint removal is the fact that it can put lead dust into the air, ESPECIALLY if you’ll be removing the paint by sanding it off.
Lead dust is a hazard to human health, and you don’t want you or your family to breathe it in.
There are some steps you can take to reduce this risk, but we’ll talk more about that later.
4. Often More Expensive
Whether you are sanding to remove lead paint OR if you’re removing materials entirely (e.g. replacing siding or door trim), removing lead paint will typically cost more than encapsulating it.
5. Often More Difficult
Now that I’ve removed and encapsulated a bunch of lead paint myself, I’d say that removal will generally (but not always) be more difficult than encapsulation.
Encapsulation Pros/Cons
1. Safer for DIYers
The process for encapsulating lead paint is essentially the same as painting. As a result, it tends to be a more manageable and more safe process, ESPECIALLY if you plan to do it as a DIY removal.
Plus, encapsulating is much less likely to cause lead exposure compared to the more disruptive process of removing the paint, removing the walls, boards, etc.
2. Usually Easier
If you can paint, you can encapsulate. The technique is slightly different, but painting with encapsulant is still a task that I think most DIYers can handle.
On the other hand, removing lead paint requires more care and may be something that you want to hire a professional to do, depending on the specifics of your project.
3. Still Somewhat Expensive
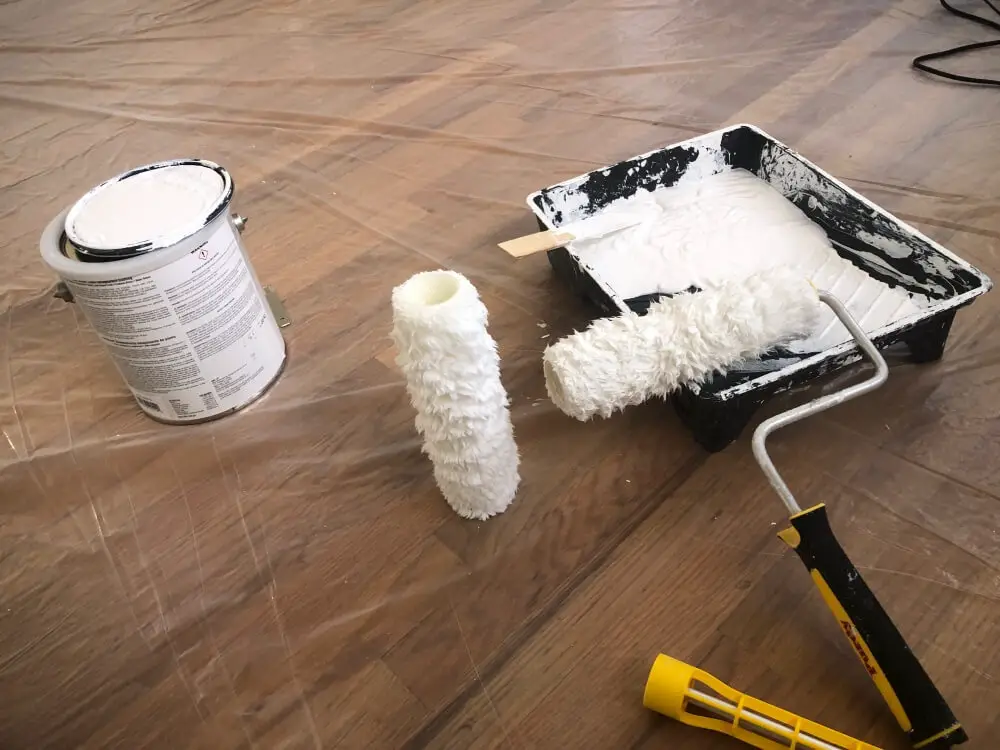
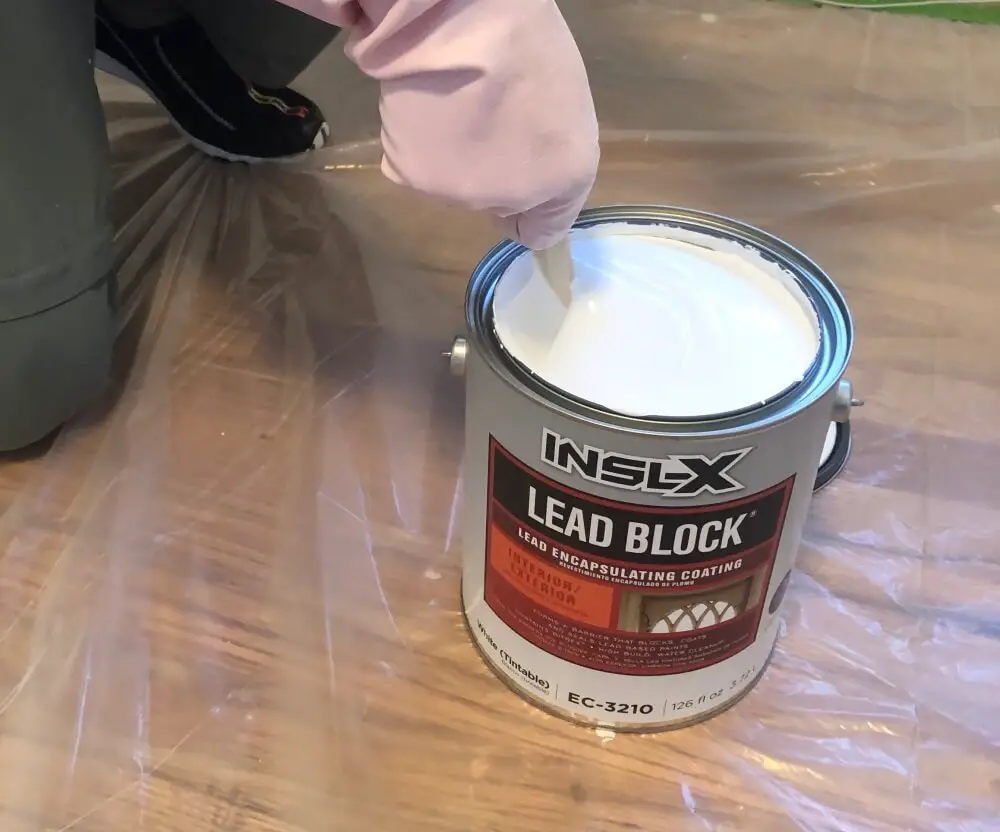
Lead-encapsulating paint isn’t cheap. I used Lead Block from Benjamin Moore and it costs about $80/gallon. (See on Amazon)
That’s already on the high end for paint, but it’s even pricier when you realize that one gallon of Lead Block only covers 100 square feet, whereas a gallon of regular paint typically covers around 400 square feet.
This is because Lead Block is much thicker (by design), to thoroughly cover the lead paint it adheres to.
4. May Need Future Maintenance
Since the lead paint still exists underneath the encapsulating paint, if the top coat of the encapsulant gets chipped or damaged, the lead paint may become exposed again.
As a result, you may have to patch or apply additional coats of encapsulating paint to maintain things in the future.
When Lead Encapsulating is Better
Now allow me to summarize my take on which method of lead paint remediation is best depending on the situation.
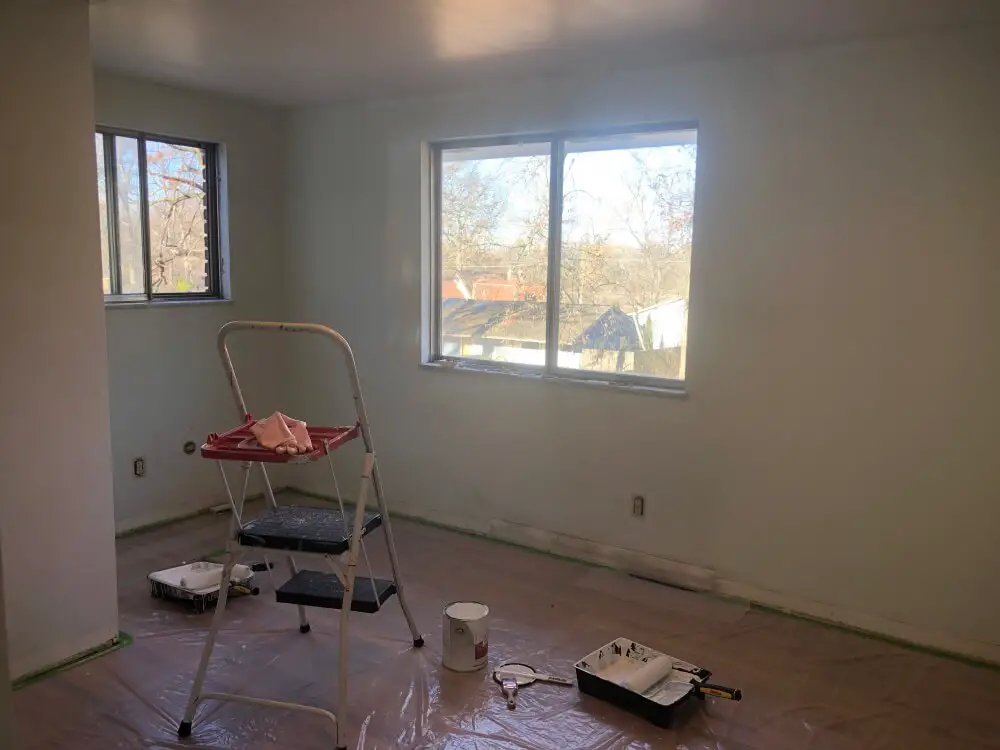
Interior Walls and Ceilings
For lead paint on interior walls, I chose to use encapsulation and just paint over the affected area.
For something like walls, encapsulating seemed like the obvious choice. It is much less dusty, it’s safer, and it’s reasonably easy to do.
Places Where Removal is Dusty
The alternative to encapsulating would be to sand the paint off or to replace the surfaces, both of which would stir up much more lead dust.
So, if the surface is easy to paint, you will limit lead-based paint hazards by encapsulating instead of removing the paint.
When Lead Removal is Better
On the other hand, there are some situations where I do think lead paint removal is the better option.
Surfaces that Need Replaced Anyway
If you have surfaces in your home that are going to be replaced anyway, then there’s not much point in encapsulating them.
For example, our 1959 house has lead paint on the exterior siding. However, the siding is already seriously damaged, so it will need to be replaced either way.
As a result, we’ll be skipping straight to removal and replacement for the siding, since encapsulating wouldn’t gain us much anyway. This is probably something many old homes have.
Surfaces that are More Difficult to Encapsulate
Some surfaces are simply more difficult to encapsulate.
My favorite example of this is baseboards. Baseboards aren’t easy to paint. You’ve got to get down on your knees and be very careful not to drip paint on the floor or walls.
Encapsulating paint is more difficult to work with than standard paint, making this task even trickier.
As a result, I chose to remove most of the baseboards and door trim in the house. Even though removal is still dustier with baseboards, I accepted that trade-off to save time.
AND, I had the advantage of working with an uninhabited house for most of the renovations which meant I didn’t have to take as many safety measures to prevent the spread of lead dust as I would have if my family was living in the house the whole time.
Lead Paint Hazards / Poisoning
Now, I’ve alluded to some of these already, but I think it’s worth taking a minute to touch on the specific hazards presented by lead paint when it comes to home renovations.
Lead paint hazards are especially dangerous for pregnant women and small children.
This is not a comprehensive list, but in my research, I’ve come across 3 main lead hazards:
Consuming it
First, if you have young children like I do, then the most direct risk of lead poisoning is from consuming lead paint.
If a toddler finds some chips of lead paint on the ground and eats them, this can cause devastating health problems.
This is also why a lot of lead-encapsulating paint products (including the Lead Block that I used) are mixed with an additive that makes the paint taste bitter.
The lead encapsulant sticks to the lead paint, and if the paint STILL chips off and a kiddo sticks that paint chip in their mouth, the encapsulant is designed to discourage them from swallowing it or eating anymore (because it tastes much worse than un-encapsulated lead paint).
Obviously, you don’t want any kind of lead stuff getting in your kids’ mouths, so it’s even better to ensure that there aren’t any places in the house where the paint is damaged or chipping.
Inhaling it
Another way lead paint can be a hazard is by putting toxic lead dust in the air.
This can be a direct result of lead paint remediation (like sanding lead paint surfaces), which is why it has to be done so carefully.
But, lead dust can also get in the air from other home projects, like replacing windows or even something as simple as drilling a hole in the wall to hang a photo.
And just like you don’t want lead paint in your mouth, you also don’t want lead dust in your lungs.
Lead in soil
Another one that is a bit less obvious is getting lead paint chips in the soil around your house.
My house has lead paint on the siding, so yes, if that siding is not removed carefully, that could put lead paint chips all over my yard.
Which is bad.
And it’s bad for a couple of reasons.
First, you could track lead into your house when you come inside from your yard.
This can then lead to one of the other problems above like a kid getting lead dust on their hands from the floor and then sticking those hands in their mouth.
And the less obvious issue is that having elevated lead levels in your soil could be problematic if you have a garden and plan to eat the food from it, since that lead could be passed from the soil to a tomato, to you.
Lead Paint Safety / PPE for DIYers
Now, let’s talk about safety and some personal protective equipment you can use when it comes to lead paint remediation.
Before you start any project, you should always do a risk assessment to see if it’s worth it to hire a professional or if it’s safe for you to do it on your own.
You can also have a lead inspector come to test surfaces in your home or use lead test kits to see how extensive the lead paint is throughout your home.
Having now done a bunch of encapsulation and removal myself, I’ve got a few tips that I hope will help others handle lead paint more safely.
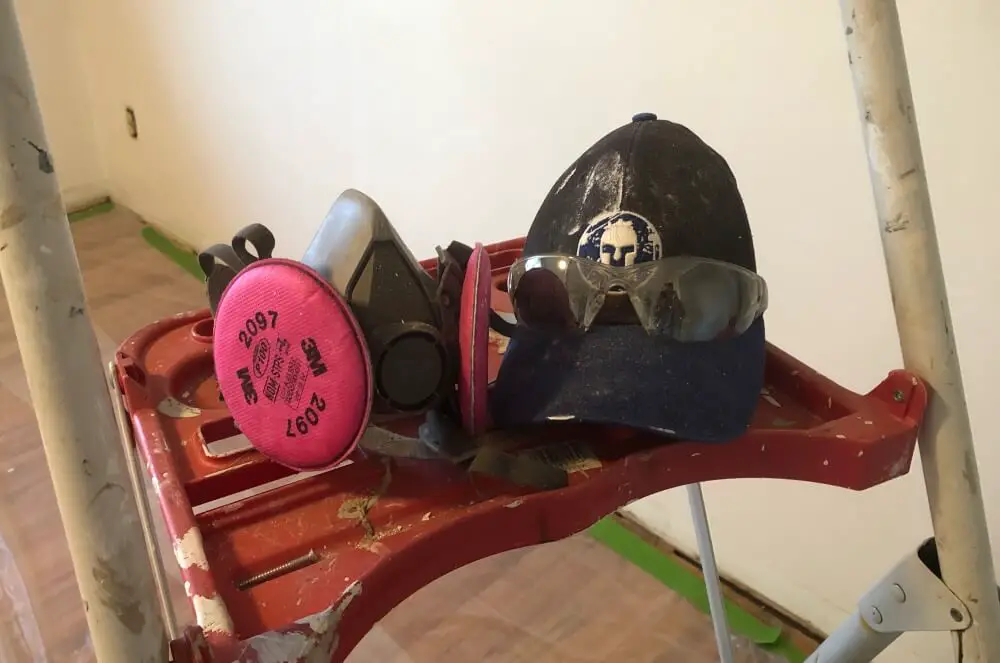
Lead Paint Mask
First, you’ll want to make sure that you have a special respirator mask that is designed specifically for lead dust. Like this 3M mask (Affiliate link there!) that I used.
Safety Glasses
You also need to keep any lead paint chips (or encapsulant) out of your eyes, so make sure you wear safety glasses or some kind of eye protection.
If you wear prescription glasses like I do, make sure you get something that will fit over them.
Gloves
And you don’t want to get lead gunk all over your skin, so wear gloves.
Encapsulant is also pretty bad for your skin, and is much more difficult to remove with soap and water than normal paint, so the gloves help with that too.
Throw Away Clothes
I also chose to wear a set of clothes that are old and worn, and that I fully plan to throw in the dumpster once my renovations are finished.
This is probably a good idea for anyone doing this type of renovation. And if you want to be very thorough, you may also want to take steps to ensure you keep the dust on these clothes out of your main living area.
For example, while doing renovations, I usually showered and changed my clothes before returning to the separate home we were living in at the time.
Alternatively, you could also get a disposable Tyvek or Hazmat suit that you wear while you’re working which will keep the lead dust from getting on your clothes or in your hair.
Drop Clothes
You’ll also want to keep dust and encapsulant off of the floor and away from any furniture that’s in the space you’re renovating.
Drop clothes help with this, and I personally used disposable paper and plastic painter’s drop coverings.
Spray bottle
This one is probably a little unexpected, but when I spoke to a local asbestos abatement expert, he suggested wetting any surfaces where dust might get kicked up, using a household spray bottle filled with water.
As I understand it, this helps with lead paint dust in addition to asbestos (if you have it in your home), because the water catches the dust and prevents it (or at least some of it) from becoming airborne.
Spackle and spackle knife
Similarly, open holes can allow lead dust to be released into the air, so it’s important to fill and repair holes.
The primary method for doing this is spackle. And once you’ve made your patches/repairs with Spackle, you can put encapsulating paint on top of it for good measure.
HEPA Filter
During my home renovations, I also ran a HEPA air filter almost constantly, to remove dust particles from the air. HEPA stands for high-efficiency particulate air.
If you intend to do the same, then it’s important to know that there is a difference between HEPA and “TRUE HEPA” air filters, and the more effective option is “TRUE HEPA” air filters.
As an example, here is the exact Kenmore True HEPA air filter that I used. Note: I will a small commission on purchases you make using my link.
HEPA vacuum
On a similar note, you may also need to use HEPA vacuums to suck up dust at the point of release during your renovations.
I did use one of these as well, and you have the same distinction here between HEPA and TRUE HEPA.
You can get a regular household vacuum with a HEPA filter, or you can buy HEPA filters for a shop vac which are available at hardware stores.
I did a mix of both but here is the Kenmore True HEPA vacuum that I used.
Related Questions
How Many Coats of Lead Encapsulation Paint?
Usually, lead-encapsulating paint requires two layers. But, this could vary based on the brand of paint that you have. The paint container should tell you exactly how many layers you need and how long you need to wait between layers. For more information about how many layers of paint you need on surfaces, check out my other post here.
How Long Does Lead Encapsulating Paint Last?
This will vary based on the condition of the paint itself. If the lead paint underneath the encapsulant is in good condition, then the encapsulating paint can last years. However, if the lead paint is damaged in any way, the encapsulant will chip or flake off along with it. If the old lead paint is damaged, it may be a better idea to remove the lead paint instead of encapsulating it to avoid this issue.