
Want colored lights, but don’t want to pay the high prices? Or maybe you’re just feeling a bit crafty? Whatever your situation, there are several reasons you may be considering painting or coloring light bulbs. And that raises the question; can you paint lightbulbs?
You can paint lightbulbs under certain conditions. Use a lightbulb rated under 40 watts and a non-water-based paint. Thoroughly clean the light bulb before applying the paint and give it at least four hours to dry before you install the bulb and turn it on.
Whether you’re a filmmaker who needs to set a scene on the cheap, a decorator wanting to add flair to a room, or if you’re just bored and crafty, painting a lightbulb might just be the DIY project for you.
With that out of the way, let’s dive in!
Disclaimer: This post contains affiliate links. This means I may earn a commission should you choose to make a purchase using my link
Table of Contents
Can You Paint Lightbulbs?

As we mentioned earlier, you can absolutely paint lightbulbs and it’s a great creative way to change your home decor. But, before you get too crazy, let’s make sure you know everything you need to do this project safely.
Safety should always be your top priority when attempting DIY projects. With that in mind, let’s take a look at the type of paint and bulb you should use. We’ll start with bulbs:
What Kind of Light Bulb Can You Paint?
Always stick to a light bulb that is 40 watts or lower. Anything more than that will be ineffective and potentially dangerous.
You should avoid using incandescent lightbulbs and fluorescent lightbulbs because they produce a lot of heat. Excess heat can cause the paint to chip and flake off the bulb.
The best bulbs to use for painting are LED bulbs. These lights produce much less heat than incandescent bulbs and are much more energy efficient.
It’s also essential to take note of the tint of the lightbulb you’re using. Use a clear bulb for the best results, because the colors will come through more clearly.
White bulbs, tinted bulbs, daylight bulbs, and frosted bulbs will still work, but they will wash out the color, making it appear more faded than clear bulbs would.
So, 40-watt or less clear LED lights are what you want to use.
Alright, now that you know the kind of bulb to look for, let’s talk paint!
What Types of Paint Can You Use on Lightbulbs?
Here’s an essential key to remember when painting light bulbs: do not use water-based paint!
Water-based paint will evaporate right off the bulb when it’s heated, and that’s the best-case scenario. The worst-case scenario is that the coat of paint will act as insulation on the bulb, which will make it much hotter than it’s intended to be and it can explode.
You should also not use oil paint on your lightbulbs. Oil-based paints are not heat resistant and could cause the same issues as water-based paints.
The best paint you can use is heat-resistant glass paint. Heat-resistant glass paint is available from a wide variety of retailers, online and in your local store.
Here are some good paint brands that you can use to paint a lightbulb and get right from Amazon (FYI: we get commissions on these):
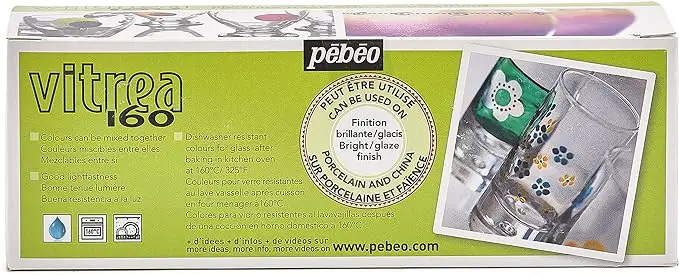
Vitrea by Pebeo (See on Amazon)
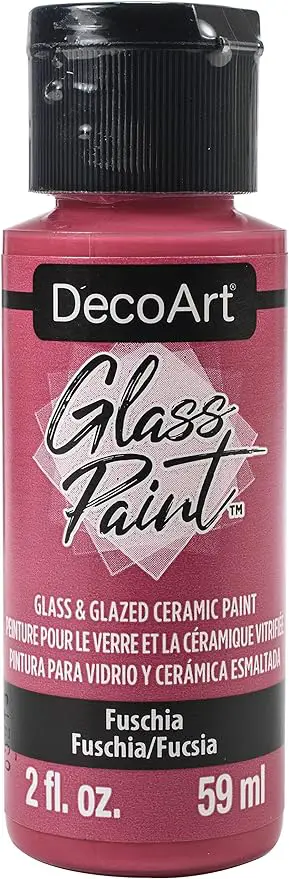
DecoArt Glass Paint (See on Amazon)
You can also use spray paint as long as it is rated to be used in high temperatures but, spray paint is thicker so the color may not show through very well.
In general, if you find heat-resistant paint, you can use it on your light bulb.
It’s also worth mentioning that many of the tips above only apply to bulbs that work and will be plugged in.
If you’re painting burnt-out bulbs that will be used as a decorative piece, then feel free to use whatever kind of paint and bulb you want!
If you’re wondering if light bulbs expire, check out our post all about it here.
How to Paint Lightbulbs
Now that you have the correct lightbulb and paint, it’s time to get started. This is the fun part where you can let your creativity shine!
From here, it doesn’t matter if you’re going for a multi-colored palate or sticking with one color. The steps are all the same, but make sure you follow them carefully.
1. Preparing Your Light Bulb for Painting
The first thing that you should do is prepare your lightbulb for painting.
Screw it into the socket you plan on keeping it in to make sure that it works. Once you verify that, take it out and thoroughly clean it.
The bulb needs to be clear of dust so that the paint adheres to the bulb’s surface properly. Here are a few ways you can effectively clean the lightbulb:
- Use a microfiber cloth: These special cloths are especially handy in soaking up other particles that your typical paper towel cannot.
- Use a cotton ball with rubbing alcohol: This is standard for most cleaning jobs, and it will clear the surface of the lightbulb effectively.
- Use soap and water: If none of the above options are available, this tried and true method will work just fine.
Make sure you have a way to prop your lightbulb up. After all, this is your canvas, and you’ll want to use both hands as you work.
Simply setting it on the table may cause it to roll around when you’re applying the paint, and this can cause mistakes if you’re painting an intricate design. There are a few methods you can use, and they all work just fine:
- Stick it to a moldable, sticky substance: You can prop the bulb up with tack putty, play-doh, or air-dry clay as long as the lightbulb doesn’t move when light pressure is applied.
- Table Clamps: This is an excellent method that assures that the bulb will steadily remain in place. It’s stronger than the previous option, but it could be more expensive if you don’t have any on hand.
- Small Cup: If the above options aren’t available, then it’s perfectly fine to use a small cup. The bulb might move around slightly, but it will still get the job done.
2. Painting the Light Bulb
Glass paint dries very fast, so you must go in with a plan. It’s okay to sketch out your ideas before you start painting.
If you’re using multiple different colors, use painter’s tape to section off areas that you do not want to be painted. You should make sure you don’t get any paint on the metal base of the bulb that will be screwed into the socket.
After the paint has been applied, wait about 30 minutes to an hour for it to dry.
To get the desired effect, you may need to apply more layers. This will help enhance the vibrance.
There’s no need to strive for perfection here. The finished result will appear vague and distorted once you turn on the light. Paint with that fact in mind.
When you’re finished applying additional layers, let it dry for at least four hours.
3. Heat Curing
This next step depends entirely on the glass paint you selected for the project. Certain glass paints require heat curing.
Place the painted bulb on an oven-safe pan and bake according to the instructions on the glass paint’s packaging.
Once it’s finished, turn off the oven and let the bulb cool in the oven for about an hour before you take it out. Once that’s done, the only thing left to do is screw the painted light bulb in and hit the light switch!
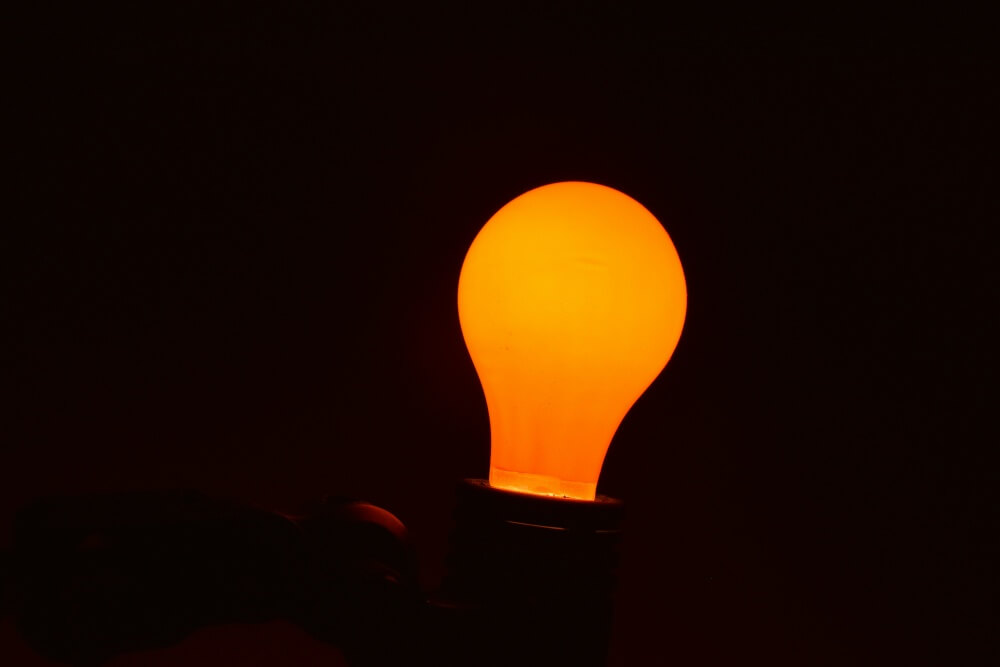
Boom! You’re very own fancy decorative lightbulbs.
Related Questions
Can You Use Acrylic Paint to Paint Lightbulbs?
Acrylic paints are water-based, so you should not use acrylic on your light bulbs. The water base can evaporate and cause the paint to flake off the light bulb. However, if you don’t care how long your bulb lasts and have some acrylic paint lying around, there is no safety issue with using acrylic paint on a light bulb.
Can You Use Sharpies to Paint Lightbulbs?
You can use Sharpie markers to paint lightbulbs but the colors may not last as long as with the recommended heat-resistant glass paint. But, if you just want a quick color and you don’t care how long it stays on the bulb, coloring the bulb with permanent markers is a great option.
Can You Paint Lightbulbs with Nail Polish?
Nail polish is not heat-resistant so I do not recommend using this to paint a lightbulb. Excessive heat can cause the nail polish to peel or flake off. But, if you don’t need the bulb to last for multiple uses, you can use nail polish in a pinch.